Advertising on Facebook is a very popular way for brands of all sizes to directly connect with their audiences.
People are spending hours on social media and in some cases, one platform may be more effective than the other but social advertising is vital to maintaining a strong marketing mix.
So, how do you keep track of Facebook marketing efforts?
There are a number of ways to show ROAS on Facebook. The easiest, and arguably most important, is engagement. Increased likes, comments and shares can lead to a stronger following and with each new follower, you have an opportunity to consistently be in front of not only that person, but that person’s social network as well (to an extent).
Beyond the surface level metrics you can easily view directly on a post, there is a wealth of data in the Facebook Ad Manager. With a few simple filters and custom report builds, you can view almost anything you’d like to see in terms of who your audience is and how they are engaging with your ads.
But what if you’d like to take it a step further and bring your engaged audience deeper into your funnel?
This can be achieved with the help of a Facebook Pixel.
What is a pixel and how does it work?
A Facebook pixel is simply a small bit of code that is added to a website. Once installed and working properly, the pixel can “fire” each time a person visits your website and begin to track that person as long as they allow for tracking.
Why use a Facebook pixel?
In addition to the data already available in the Facebook Ad Manager, a pixel allows you to:
- Measure conversions with the Facebook Pixel
- Measure cross-device conversions
- Understand how your cross-device ads help influence conversions.
- Optimize for the audience most likely to convert with the Facebook Pixel
- Optimize delivery to people likely to take action
- Ensure your ads are shown to the people most likely to take action.
- Retarget website visitors with the Facebook Pixel
- Create custom audiences from website visitors
- Dynamic ads help you automatically show website visitors the products they viewed on your website—or related ones.
- Measure website traffic with the Facebook Pixel
- Learn about your website traffic
- Get rich insights about how people use your website from your Facebook pixel dashboard.
If you have installed a Pixel and are tracking conversions, Facebook gets better at delivering your ads to people who are more likely to take certain actions. Being able to track more conversion speeds up the conversion optimization process and gives you better results faster.
How to set up a Facebook Pixel?
Note: Generating the pixel is a simple, one-time process but it is recommended the pixel be installed by a professional web developer. In many cases, installation can be done via an existing plugin or tag management tool.
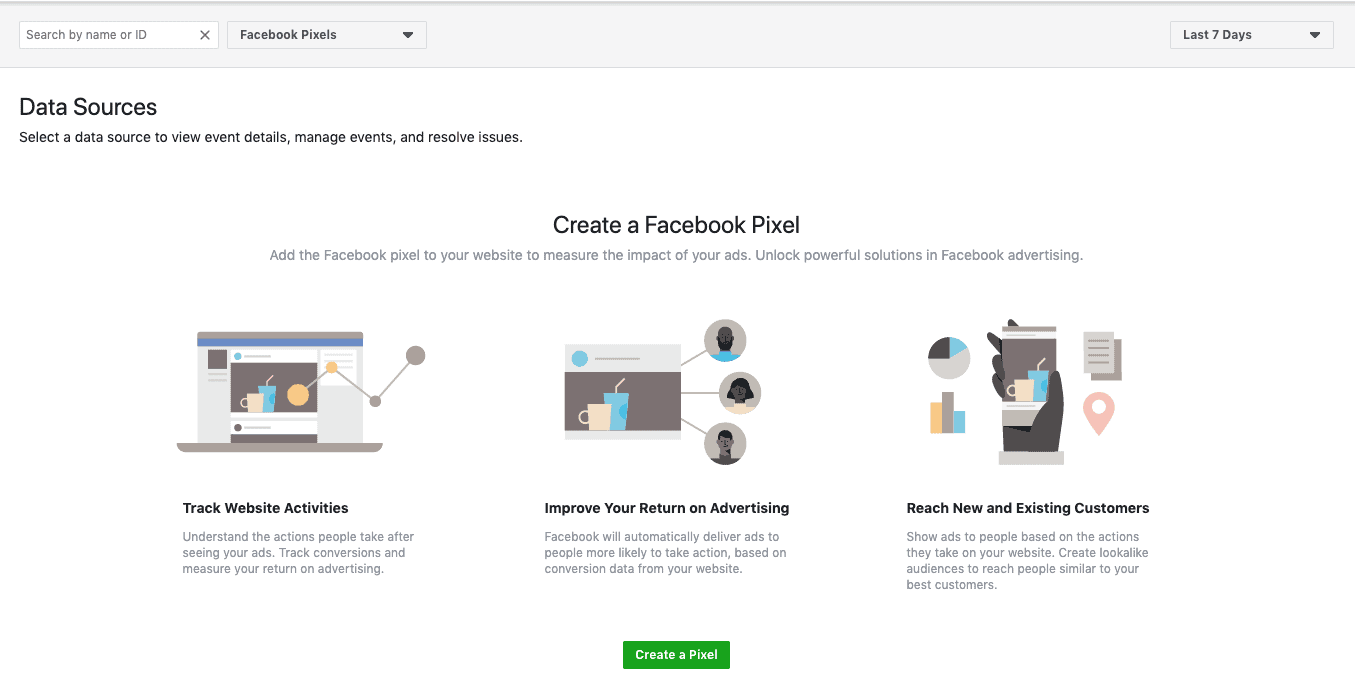
To generate your pixel, log into your Ads Manager account. Once logged in, click on the Ads Manager tab then click on “All Tools” to open the options window. From the options window, scroll over to “Measure & Report” and click on “Pixels” under the “Events Manager section.

From the audience builder drop-down select “Facebook Pixel”, then click “Create Pixel”.

Enter the name and URL of the business you’d like to create a pixel for. You will then have 2 installation options. We highly recommend Google Tag Manager but you should consult with your web dev before deciding.

If you decide to install manually, you will come to a screen like this and will have the option to email the installation instructions directly to your web dev.

Simple!
Once installed, visit the Facebook pixel help center or contact us, to take full advantage of the tracking and insight opportunities available using the pixel.